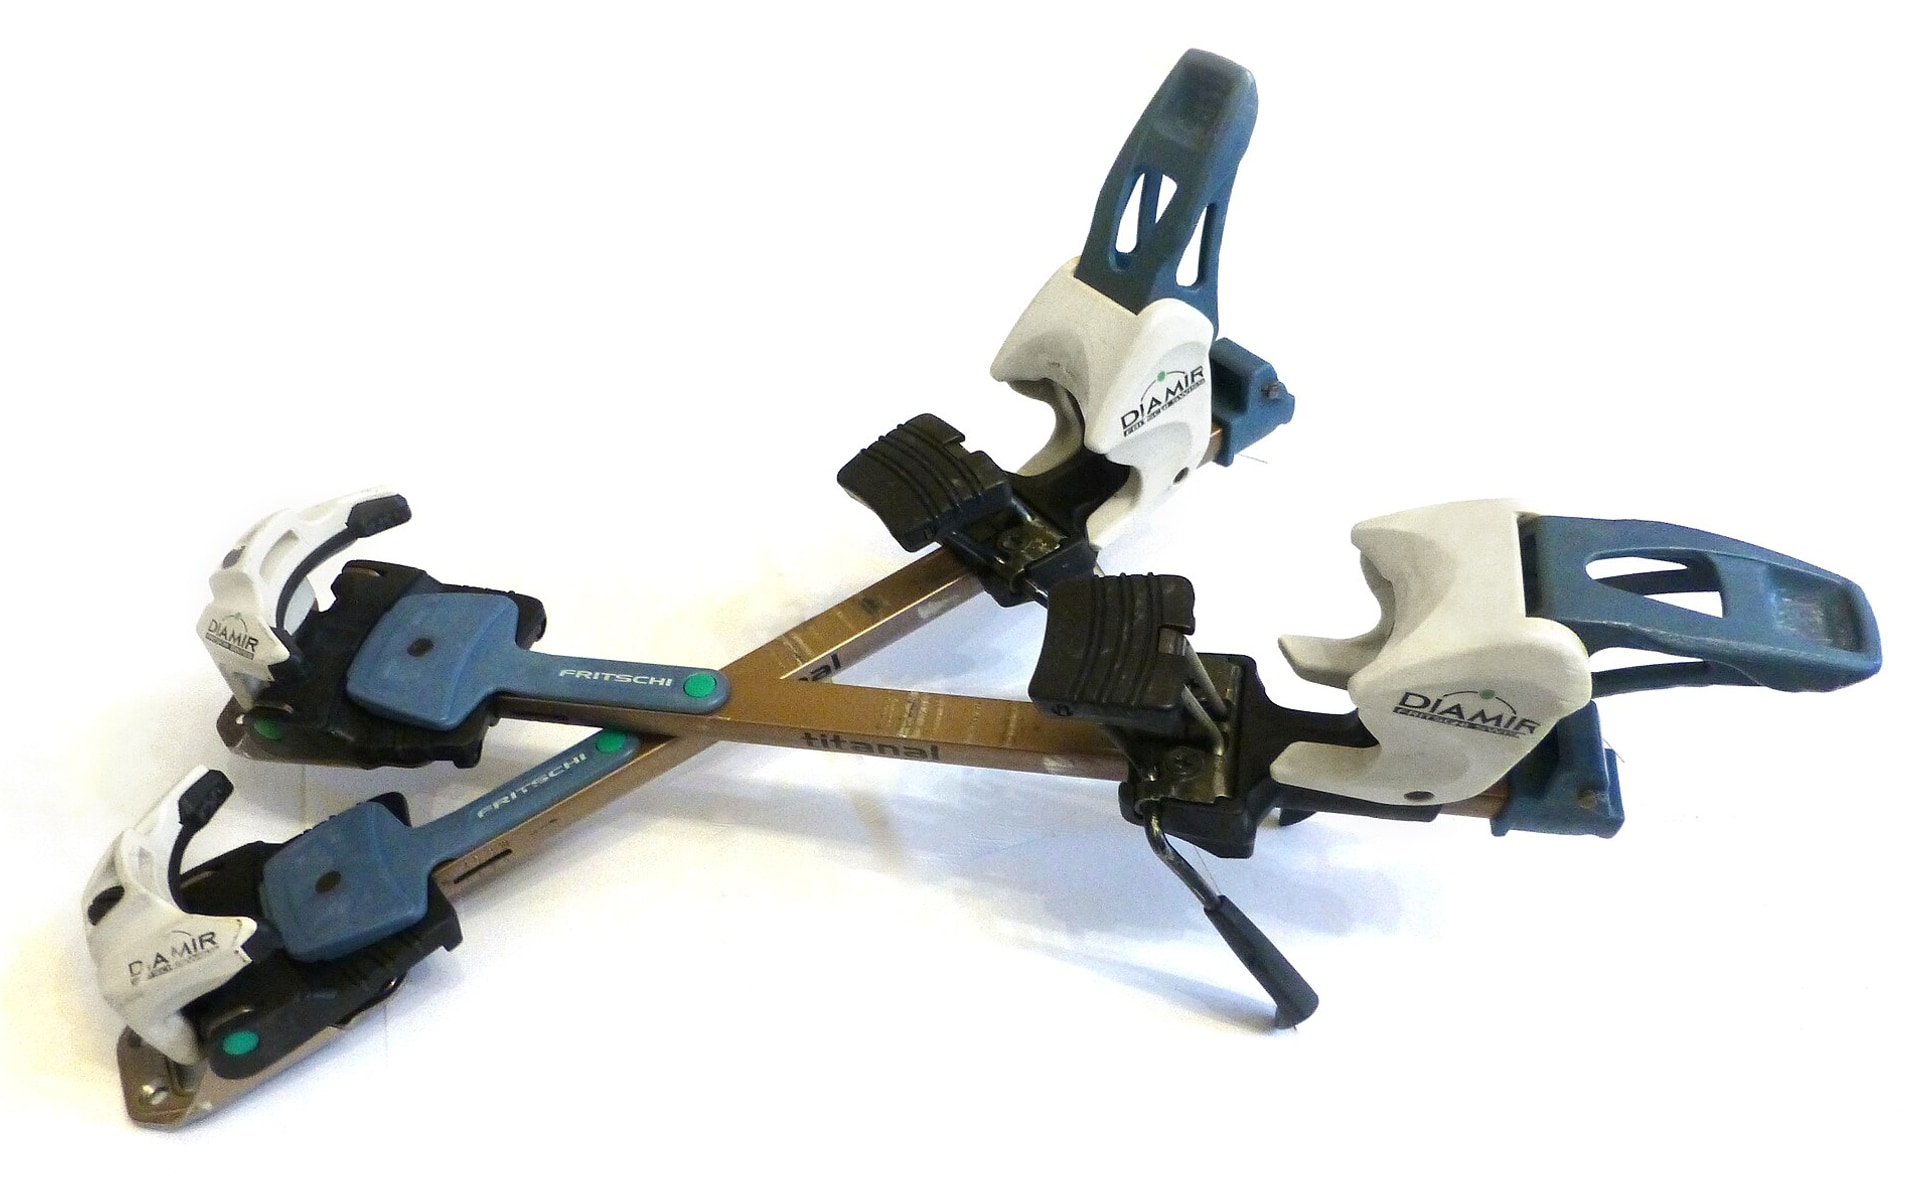
A ski binding does two contradictory things. It must hold the boot on the ski through the shocks of the run, moguls, landings, hard-edged turns. And it must let go of the boot when the leg is subjected to a twist or a bend the knee could not withstand. Setting it means placing the threshold between the two — high enough not to release while skiing, low enough to release in a fall.
That threshold is expressed as a value, called DIN after the German standards institute that normalised it. It runs from 0.5 on children’s bindings to 18 or more on race bindings. Most adults are set between 4 and 9.
What the shop works out
The setting follows a standardised method, the same everywhere. It starts from five inputs.
Weight and height give a first code. Weight counts most; height corrects for build — at equal weight, a taller skier has a longer lever.
Level, in three types: type 1, cautious, skiing slowly on easy runs and preferring to release too early rather than too late; type 2, average; type 3, committed, skiing fast on all terrain and preferring to hold. Each type above 1 moves the setting up a step.
Age: under 10 and over 50, one step down. Bones and ligaments are not the same.
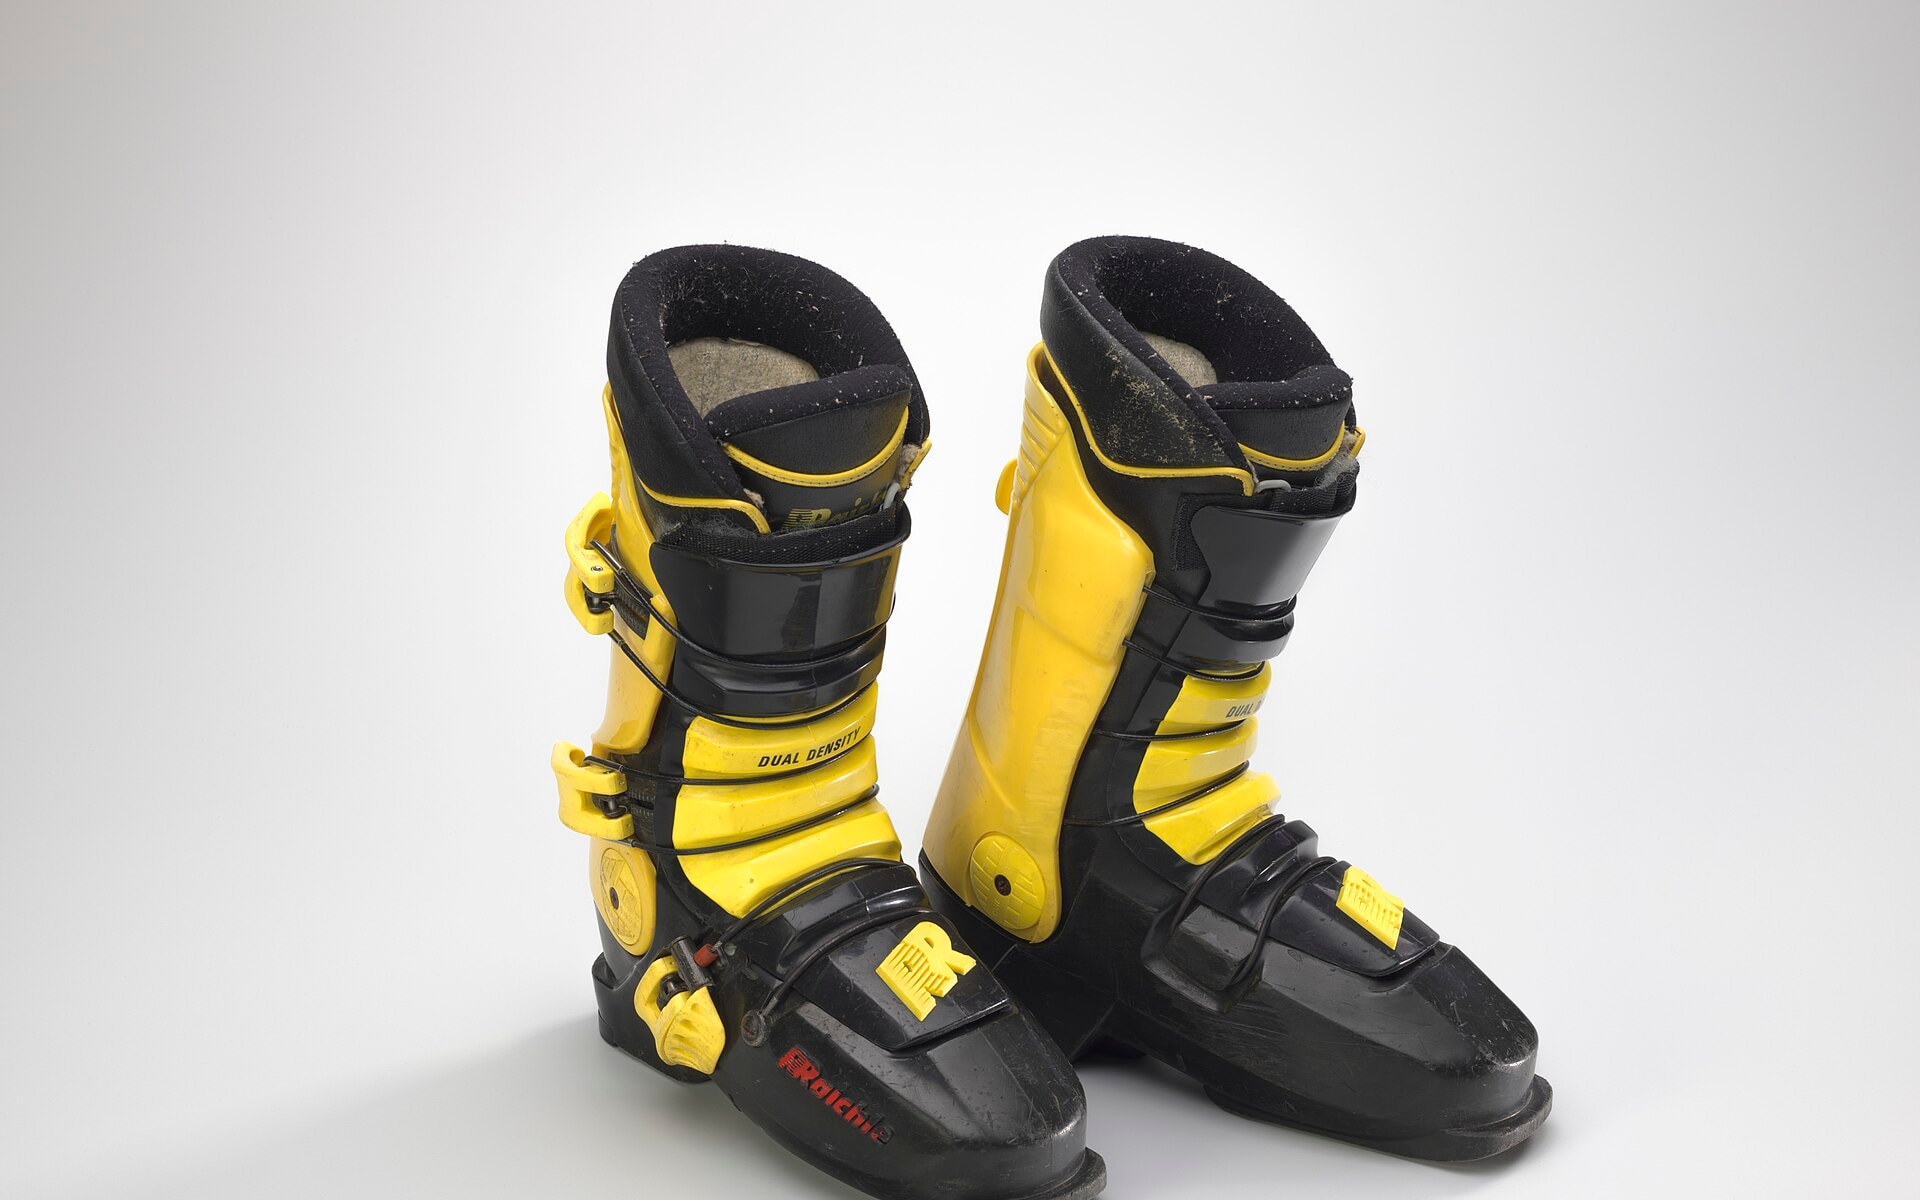
The boot sole length, engraved in millimetres on the side of the heel (315 mm, for instance). At equal DIN, a longer sole transmits more leverage: the manufacturer’s chart crosses the skier code with the sole length to give the final value.
The result is a single value, shown on the toe piece and on the heel piece. They must be identical.
What you can check yourself
The displayed value. Look at the small graduated window on the toe and on the heel: both figures must be the same, and consistent with your build. A 70 kg adult set at 3 or at 11 should prompt a question.
Forward pressure. Boot in place, the heel piece must press the boot against the toe piece with a slight preload. Most models have a mark — an arrow, a window — showing whether the heel piece is too far forward or back. If the boot has play or the binding has to be forced shut, the length setting is wrong, whatever the DIN.
The soles. A sole worn at the toe or heel no longer slides properly in the binding and changes the release. It is the first thing to look at when a binding “releases for nothing”.
The setting form. A serious shop hands one over, with the DIN, the sole length and the date. Keep it; it serves the following season and in case of dispute.
Why you have it checked on the bench
The displayed DIN is a setting, not a measurement. An old binding, a tired spring, a badly mounted toe piece can release far from the inscribed value. The test bench applies a twist and a bend to the boot in the binding and measures the actual release force. It is the only way to know what the binding really does.
On new skis, mounting includes that check. On second-hand skis or skis that have slept three years in a cellar, it is essential. On rental skis it is done every time you are handed a pair — one of the advantages of renting, and a reason to give an exact weight and level at the counter.
The cases the chart does not cover
Children: weight changes fast, and so does the setting. A pair set in December can be wrong by February. Check at every holiday.
Touring bindings with pin inserts, known as tech bindings: they have their own values and their own release logic, often less precise than an alpine binding. What follows does not apply to them as such.
Very heavy or very light skiers: the chart has limits. Beyond them the shop interpolates; that is where its experience counts more than the standard.
A knee that has had surgery: set one step lower, and tell the shop.
In one sentence
The DIN is calculated, not guessed; it is checked on the bench, not read; and it is never raised because “it keeps releasing” — first you find out why.